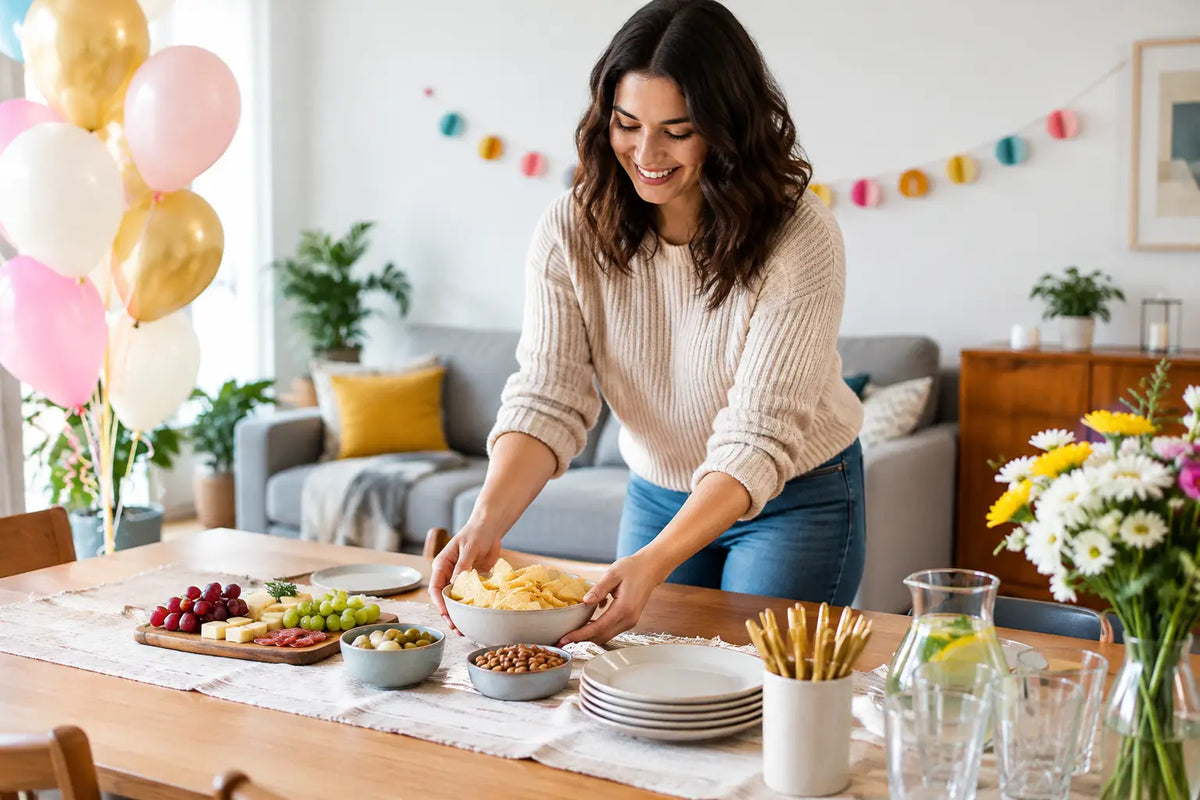
A doorbell rings in an hour. The cake is ordered, the guest of honour is on the way, and the living room still looks like a living room. A quick party setup at home does not need a full event plan - it needs a few high-impact details in the right places. Start with balloons that arrive pre-inflated and ready to display, then build the celebration around the moments people will photograph.
Build a quick party setup at home in 60 minutes
The fastest home parties work because they focus on one visual story, not because every surface is decorated. Choose an occasion, a colour palette and one main display. For a child’s birthday, that could be a themed balloon bouquet with a large number balloon. For an anniversary, it may be heart balloons, a personalised message and a small table for cake and gifts. For a baby shower, soft pastel balloons and a name display can do more than a room full of scattered decorations.
Before anything arrives, clear one wall, one table and one pathway. This takes ten minutes and immediately makes the space feel intentional. Move everyday items out of the photo area, pull curtains open if the room has good daylight, and leave enough room for guests to walk in comfortably. A decorated corner looks far more polished when it is not competing with laundry baskets, charging cables or a crowded coffee table.
If you are planning at short notice in Abu Dhabi, ready-to-use helium balloons save the part that usually causes trouble: inflating, tying, weighting and arranging. BalloonShop.ae offers pre-inflated options, date-selectable delivery and same-day availability on selected items, so the setup can begin when the balloons arrive rather than hours earlier.
Choose one focal point, then decorate around it
Your focal point is the place where the cake is cut, photos are taken or the surprise is revealed. It might be the wall behind the dining table, the sofa area, a balcony corner or the entrance. Give this spot the strongest arrangement, then keep the rest of the room lighter.
A balloon arch creates a big party feeling, especially for larger birthday lunches, engagement celebrations and family gatherings. It does need clear wall space and a little more room than a bouquet, so it is best when guests will stay in one main area. In a compact flat, a ceiling installation or a pair of balloon columns can give height and colour without taking over the floor.
For intimate celebrations, a personalised bouquet beside a cake table is often the smarter choice. Add the person’s name, age or a short message, then choose two or three matching colours. This is quicker to place, easy to move if plans change, and still gives every photo a clear celebration backdrop.
Match the display to the occasion
Theme helps guests understand the party before they have even had a slice of cake. A Super Mario or Sonic arrangement brings instant energy to a children’s birthday. Barbie, Hello Kitty and Disney themes work beautifully with pink, lilac or pastel balloon clusters. Minecraft, Ninjago and soccer decorations suit bolder greens, blues, blacks and metallic details.
For adults, keep the palette focused rather than overly themed. Gold and black works well for a milestone birthday or graduation. Red, rose gold and hearts suit a romantic surprise. White, silver and chrome accents can make an engagement, bridal shower or anniversary dinner feel dressed up without making the home feel like a venue.
The trade-off is simple: character themes deliver instant excitement, while a limited colour palette feels more elegant and flexible. If your guest of honour has a favourite character, use it. If the gathering includes different ages or is a more formal occasion, let the colours do the talking.
Use the three-zone rule
When time is tight, decorate only three zones: the welcome, the celebration point and the photo spot. In many homes, these can overlap, which makes setup even easier.
The welcome can be as simple as a balloon bouquet by the entrance or a birthday banner placed where guests first look. It sets the mood before anyone reaches the main room. Keep it tidy and weighted so it stays in place when the door opens and closes.
The celebration point is usually the cake table. Place number balloons or letter balloons behind or beside it, not directly in front of the cake. Leave a clear space for candles, plates and serving. A table display should frame the food, not make it hard for someone to reach it.
The photo spot needs height, colour and a little breathing room. Position your main balloon display where people can stand in front of it without blocking a doorway. Avoid placing it under a low ceiling fan, close to hot lights or outdoors in direct heat. Helium balloons look their best in a cool indoor space, and they are less likely to drift or tangle when the area is calm.
Make personalisation do the hard work
Personalisation is one of the quickest ways to make a simple setup feel planned. A name, age, date or short message turns a lovely bouquet into something made for one person. It also means you can keep other decorations minimal.
For a birthday, combine a large age number with a name balloon or a message such as “Happy Birthday”. For a newborn celebration, use the baby’s name with gentle colours and a themed bouquet. For a proposal, anniversary or romantic room surprise, choose a message that feels personal rather than filling every wall with wording.
Keep the message short enough to read in photographs. One name and one occasion is usually plenty. If the display is already colourful or character-led, neutral letters can balance it. If the room is simple, metallic or bright letter balloons can become the main feature.
Set up in the order that prevents clutter
Do not start by opening every bag and placing balloons everywhere. Begin with the largest item at the focal point, then add the cake-table display, then finish the entrance. This order prevents the room from feeling busy before you know what it needs.
Place weighted helium bouquets on the floor or a low table at different heights. A cluster near the floor, a taller arrangement by the wall and one small tabletop detail create depth without requiring complicated installation. If you have a banner, put it up before arranging balloons around it, so the words stay visible.
Save small accessories for last. Candles, napkins, a cake topper and a few matching plates can tie the colours together in minutes. They are supporting details, not the star. If you are rushing, skip anything that needs assembly or delicate styling. A clean, well-placed balloon arrangement always looks better than a half-finished table full of extras.
A realistic 60-minute party timeline
Use the first ten minutes to clear and choose the photo angle. Spend the next 20 minutes placing the main balloon display and any personalised pieces. Take 15 minutes for the cake table, banner and entrance bouquet. Use the final 15 minutes to adjust balloon heights, switch on lights, chill drinks and take one test photo from the doorway.
That test photo is worth doing. It shows whether the message is hidden, whether the cake table looks crowded, or whether one side of the room needs another small bouquet. You are not styling for a catalogue - you are creating a happy scene that works when real people walk into it.
Keep last-minute setup stress-free
Choose delivery for a time when someone can receive and place the decorations straight away. Check the room temperature, keep balloons away from pets and sharp corners, and make sure young children are supervised around party items. If your gathering is outdoors, consider the weather and use décor suited to the space, as wind and heat can change the look quickly.
Most importantly, do not wait for a perfect plan. Pick the celebration corner, choose balloons that match the person and occasion, and let the room change in front of you. A few ready-to-display details can turn an ordinary evening at home into the moment everyone remembers.